How to Draw an Airplane Step by Step
This tutorial shows how to draw an airplane in 3/4 view. It includes simple drawing instructions along with step by step illustrated examples (nine steps in total).
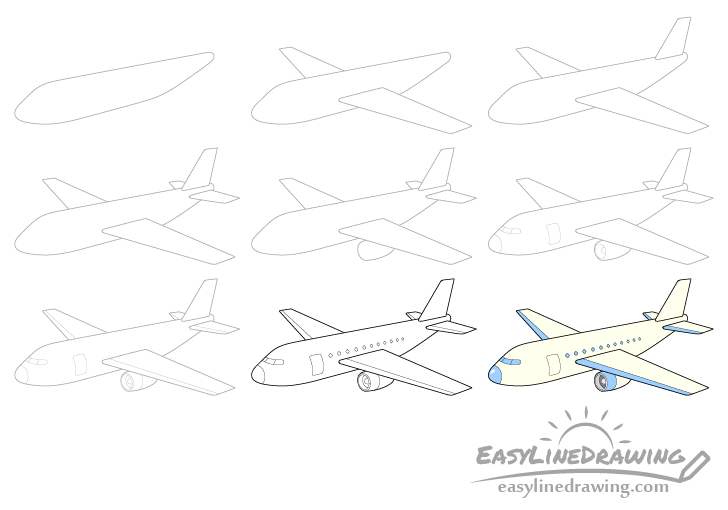
The airplane in this example is a simple passenger jet that should be fairly easy to draw. Start the tutorial using a pencil and make light lines that you can easily erase in case you make a mistake.
You can trace over your drawing with darker lines or a black pen/marker once you feel that everything is in the right place.
Step 1 – Draw the Body of the Airplane
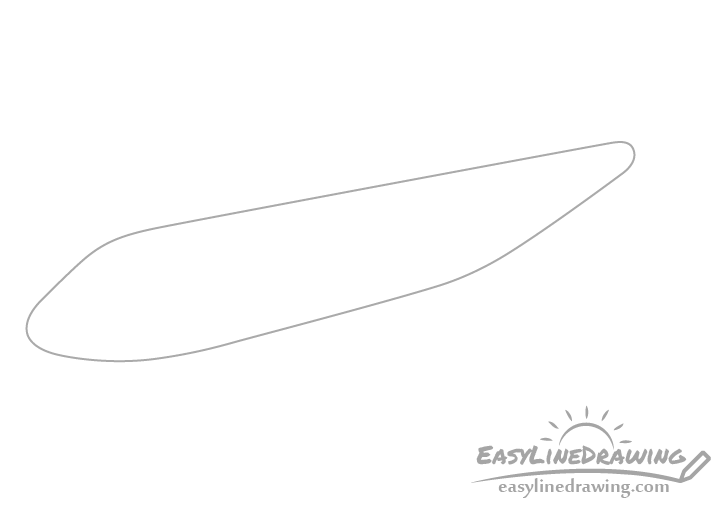
As the airplane is drawn in 3/4 view make it's body wider towards the front and narrower towards the back. It should also get even more narrow towards the very back near the tail (as shown in the example).
Step 2 – Draw the Wings
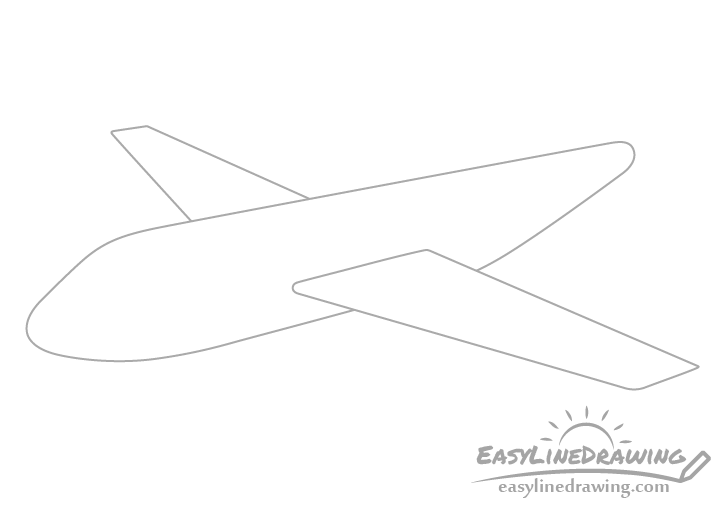
Add the wings with the one in the front (closer to the viewer) being wider and longer and the one in the back snorter and narrower. One reason the back wing should be drawn smaller to show some perspective (objects getting smaller as they go off into the distance). The other reason is that part of it will be hidden behind the body of the plane.
Step 3 – Draw the Tail
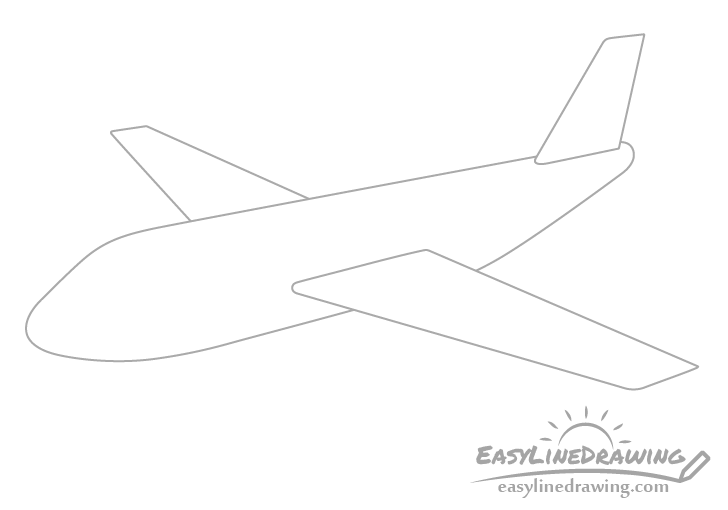
Add the "tail" called the vertical stabilizer at the upper back of it's body. Draw it leaning backwards and make it wider towards the bottom and narrower toward the top.
Step 4 – Draw the Tail Wings

Add the tail wings (called the horizontal stabilizers) similar to the front wings with the one in the foreground drawn longer and wider and the one in the background drawn smaller and narrower.
Step 5 – Draw the Engine
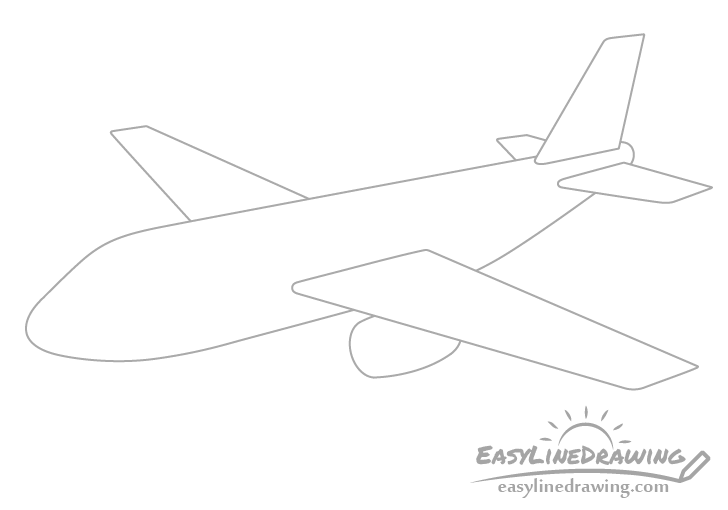
Below the foreground wing draw the outline of the engine. You only need to draw one as in this view the second engine will be hidden behind the body of the airplane.
The shape of the engine should be somewhat similar to a barrel.
Step 6 – Draw the Front Details
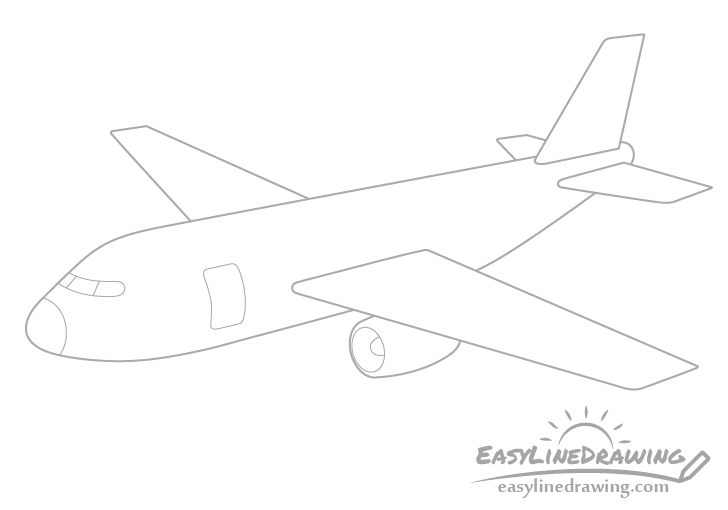
Now draw the details on the front of the plane as well as the engine. Show the tip of the nose with just one curved line as in the example above. Afterwards add the cockpit windows (again see example). Finally add the door. The part of the body of the plane the door is located on is shaped like a tube. To show this draw the door sort of a wrapping around it similar to a label on a bottle.
For the engine draw an oval to show the opening in the engine. Just slightly ticking out from that draw the spinner.
Step 7 – Draw Wing & Engine Details
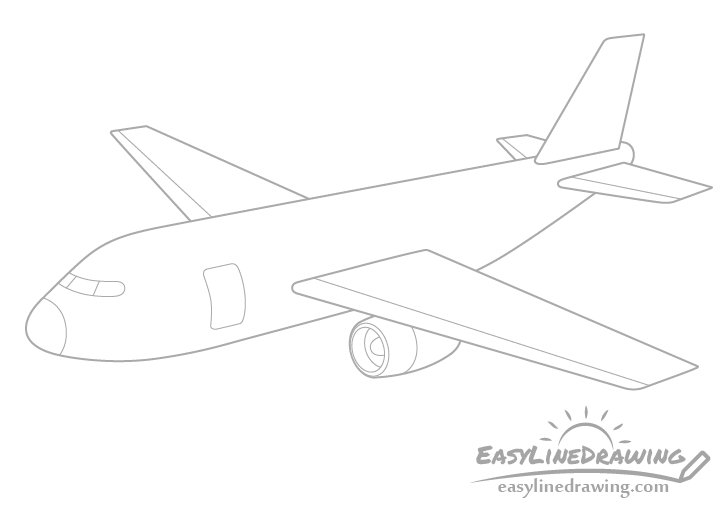
To make the plane look a little more interesting you can add some more details to the wings and engine as shown in the example. You can also leave some or all of these out if you want a simpler drawing.
Step 8 – Finish the Line Drawing
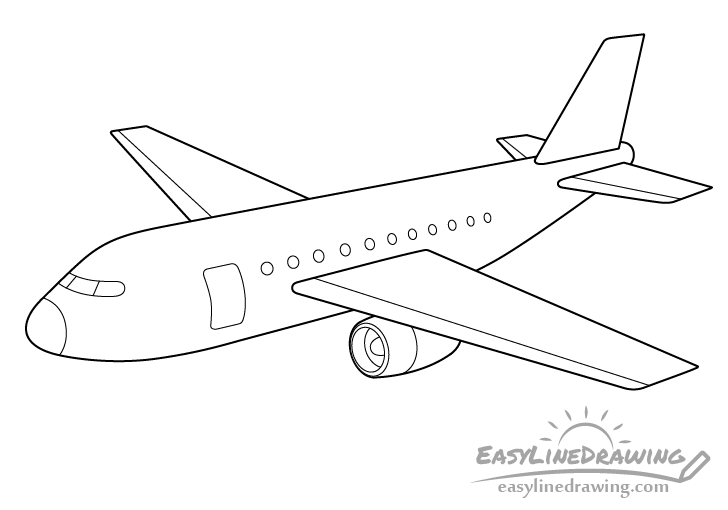
To finish the line drawing of the plane add the passenger windows along the the body of the plane. Draw the windows slightly larger and rounder towards the front and slightly smaller and narrower (more oval in shape) towards the back.
Once done you can trace over your drawing with darker pencil lines or a black pen/marker.
Step 9 – Finish the Plane Drawing
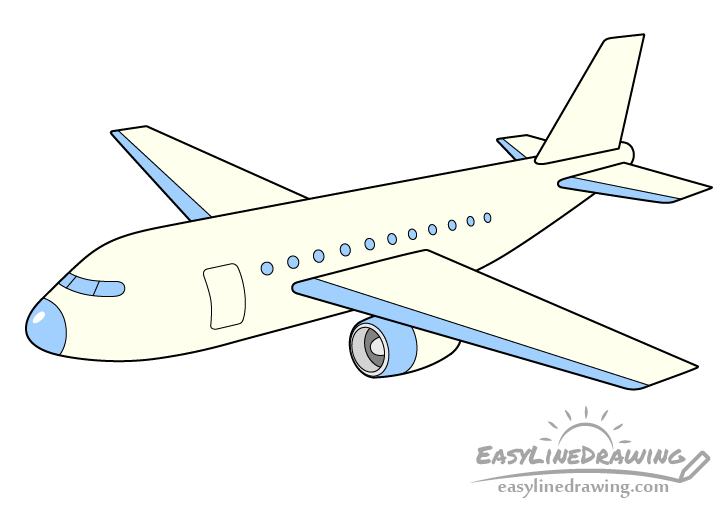
To finish the drawing you can add some color. For this example the two main colors are blue and yellow with the inside of the engine being grey. The light yellow will make the plane stand out a little bit more from a white background while the blue is a good complimentary color to it.
The easiest way to color the plane is probably with colored pencils or paints as markers may be a little too bright.
Conclusion
A passenger jet such as the one in this example is not very difficult to draw but it may take you some time to add all of it's smaller details. If you find these to be too time consuming you can always simplify the plane by only showing it's most important parts.
For other similar tutorial also see:
- How to Draw a Fighter Jet Step by Step
- How to Draw a Rocket Step by Step
- How to Draw A Boat Step by Step
- How to Draw a Cloud Step by Step
- How to Drawn an Envelope Step by Step
- How to Draw a Flag Step by Step
Source: https://www.easylinedrawing.com/how-to-draw-an-airplane-step-by-step/
0 Response to "How to Draw an Airplane Step by Step"
Post a Comment